How to Patch Drywall Like You've Done It Before
Holes in drywall are basically inevitable when you own a home. Here's how to fix them so nobody knows they were ever there.
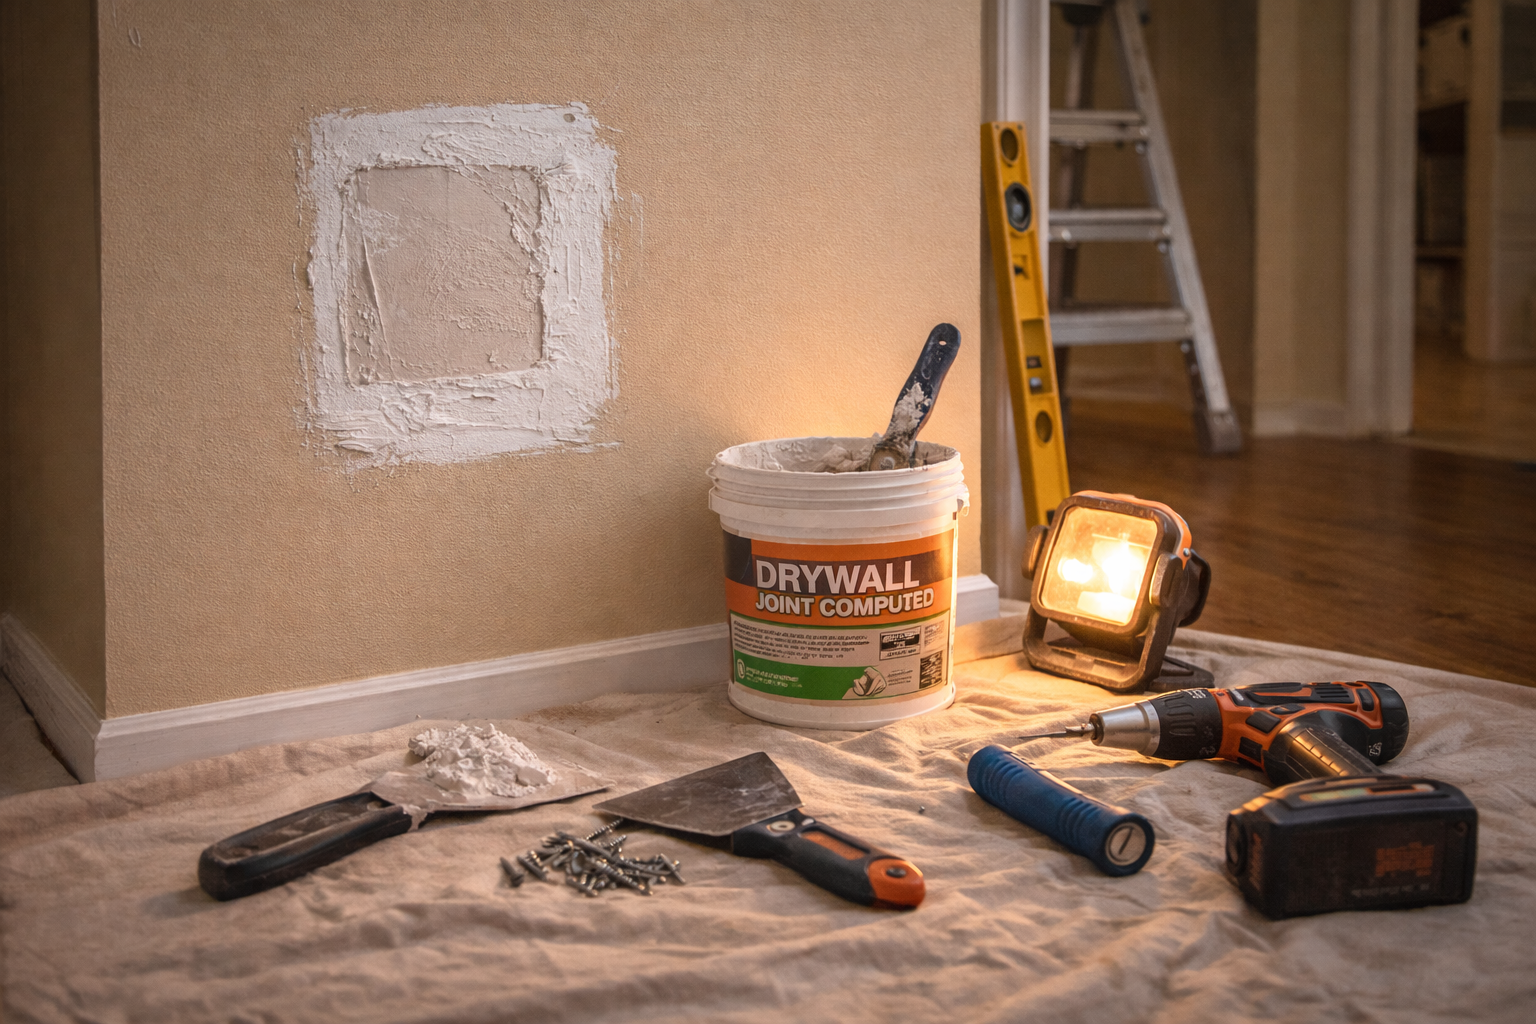
Every homeowner eventually has a wall with a hole in it. Door handle through drywall. Anchor pulled clean through. A kid with a wayward toy. A mystery you’ve stopped trying to solve. The good news: drywall repair is one of the most satisfying home improvement jobs there is. You can make a hole disappear completely — no evidence it was ever there — with a few cheap materials and an afternoon.
Here’s how to do it by hole size, because the approach changes depending on what you’re dealing with.
What You’re Actually Working With
Drywall is a layer of gypsum plaster sandwiched between two sheets of paper. It’s sturdy when it’s part of a wall, but it doesn’t handle impact or pulled anchors well. The gypsum crumbles, the paper tears, and you’re left with a ragged gap.
The repair strategy in every case is the same: fill the void, give the compound something to grip, build up smooth layers, and blend it into the surrounding wall. The materials and steps shift based on size.
What You’ll Need
For small holes:
- Spackling compound or lightweight joint compound
- Putty knife (2–3 inch)
- Fine-grit sandpaper (120–150 grit)
- Primer, paint
For medium holes:
- Self-adhesive fiberglass mesh patch
- Joint compound (all-purpose or lightweight)
- 6-inch and 10-inch drywall knives
- Sandpaper
- Primer, paint
For large holes:
- New drywall piece (1/2-inch thickness for most walls)
- Drywall screws
- Drywall backer clips OR 1x4 wood backing
- Joint compound
- Paper or fiberglass tape
- Drywall knives
- Sandpaper
- Primer, paint
Small Holes: Under Half an Inch
Nail holes, small screw holes, minor dings — these are a five-minute job.
1. Clean the edges. If there’s torn paper or crumbled gypsum around the hole, pick it off or press it flush. You want a clean opening, not a raised edge.
2. Apply spackling. Load a small amount of spackling or lightweight joint compound onto your putty knife. Press it into the hole and drag the knife flat across the surface, leaving the compound slightly proud (raised above the wall surface). It will shrink as it dries.
3. Let it dry completely. This usually takes two to four hours depending on temperature and humidity. The compound will go from off-white to bright white when it’s ready. Don’t rush this — sanding wet compound makes a mess and pulls the patch apart.
4. Sand smooth. Use 120-grit sandpaper folded over your finger. Sand in a circular motion until the patch is flush with the surrounding wall. Run your hand across it — you shouldn’t feel a ridge.
5. Prime and paint. Don’t skip primer. More on that below.
Medium Holes: Half an Inch to Four Inches
This is the most common repair — anchor holes that got ugly, doorknob dents, holes left behind from a removed towel bar. The self-adhesive mesh patch is your best friend here.
1. Clean up the hole. Remove any loose debris. If the edges are jagged, use a utility knife to cut them back to a cleaner shape.
2. Apply the mesh patch. Peel and stick the patch centered over the hole. Press the edges down firmly. The mesh gives the joint compound something to grip — without it, the compound bridges the hole and eventually cracks or sinks.
3. First coat of joint compound. Apply all-purpose joint compound over the mesh with your 6-inch knife. Work it into the mesh and feather the edges out beyond the patch onto the surrounding wall. Don’t try to make it perfect on the first coat — just fill it. Scrape off any excess ridges.
4. Let it dry, then second coat. Once the first coat is fully dry (usually overnight), apply a second thinner coat with your wider 10-inch knife. The goal now is to feather the edges wider and smooth out any ridges. The wider your feathering, the less visible the patch will be once painted.
5. Third coat if needed. Most medium patches need two to three coats. Each coat should be thinner and wider than the last.
6. Sand. When the final coat is fully dry, sand smooth with 150-grit paper. A sanding sponge works well here — it conforms to slight curves in the wall and doesn’t create flat spots.
7. Prime and paint.
Large Holes: Four Inches and Up
Big holes — fist through the wall, removed medicine cabinet, a section that got water damaged — need a structural fix. You’re putting in new drywall, not just filling.
Method 1: Drywall Backer Clips
This is the cleanest approach for most large holes.
1. Cut the hole into a clean rectangle. Use a drywall saw or utility knife. Square edges are much easier to work with than jagged ones.
2. Cut a patch piece. Cut a piece of new 1/2-inch drywall to match the rectangle exactly. Test the fit — it should drop in flush with the surrounding wall.
3. Install backer clips. Slide drywall backer clips into the opening on each side. These clip onto the back of the existing drywall and give you something to screw the patch into. Follow the clip manufacturer’s directions — typically you insert the clip, hold the tab, and drive a screw to lock it in place.
4. Install the patch. Set the patch piece in the opening and drive drywall screws into the clips. Snap off the clip tabs once the screws are tight.
5. Tape the seams. Apply paper tape or fiberglass mesh tape over each seam. This is what prevents the repair from cracking over time. Apply a thin coat of joint compound over the tape, pressing it into the seam.
6. Build up with joint compound. Same as the medium hole method — three coats, each feathered wider than the last. Let each coat dry fully before the next.
7. Sand, prime, paint.
Method 2: Wood Backing
If you don’t have backer clips, cut 1x4 wood strips longer than the hole is wide. Slide them behind the opening, hold them in place, and drive screws through the existing drywall into the wood on each side of the hole. Then screw the patch into the wood backing. Everything else is the same.
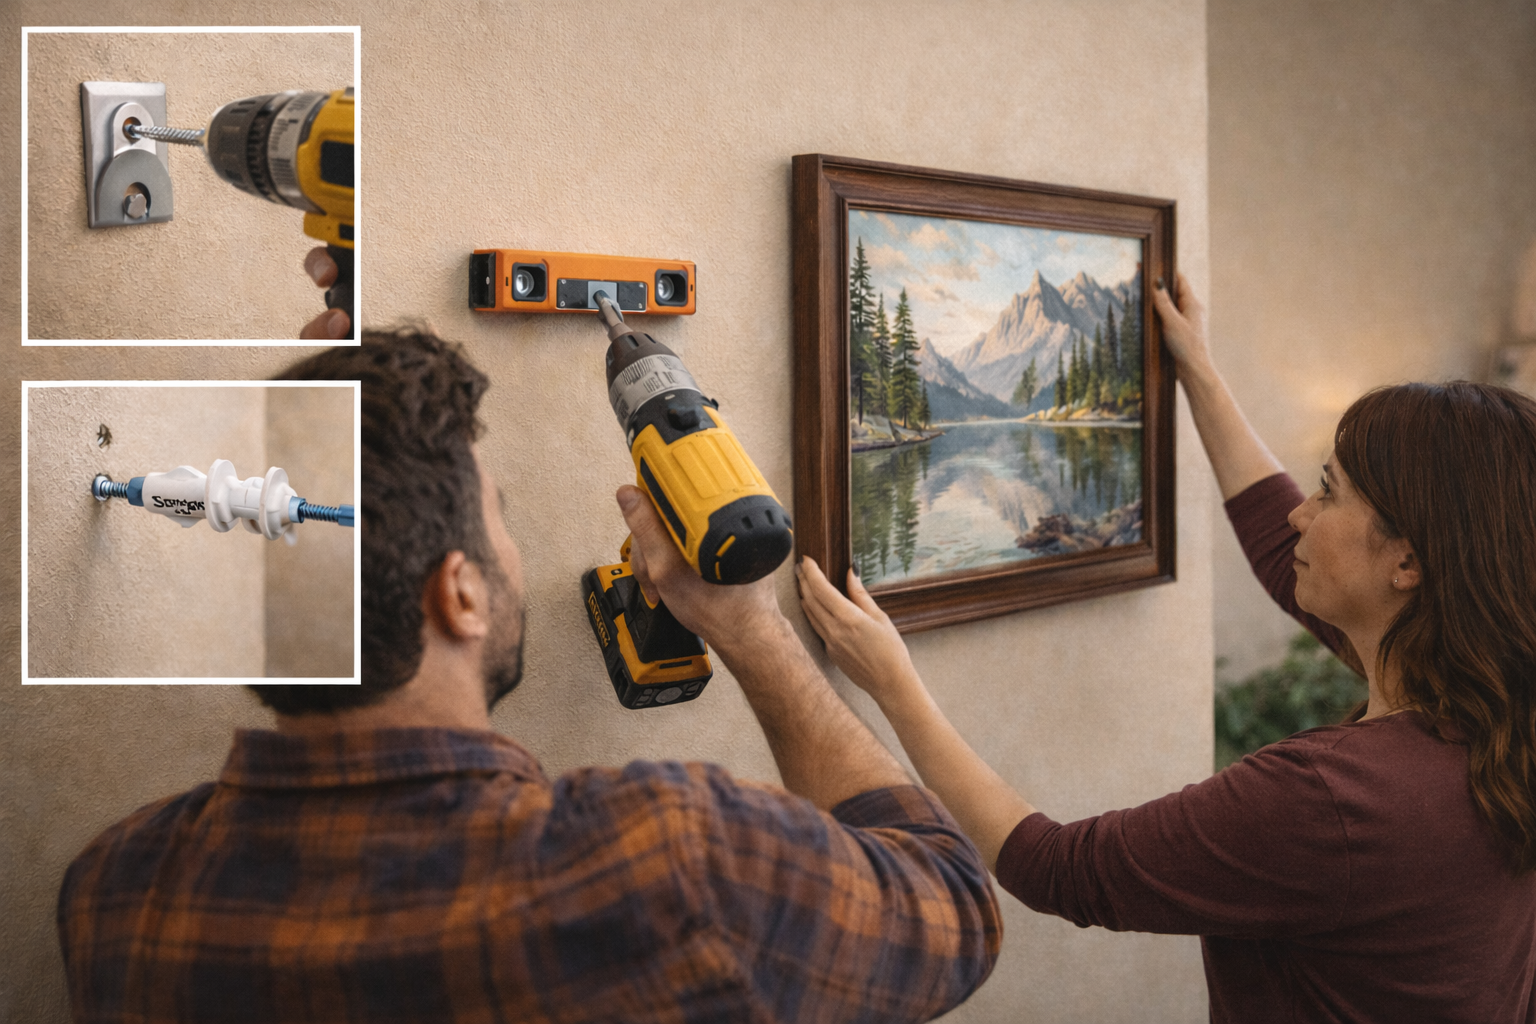
The Step Everyone Skips: Priming
This is where most DIY drywall repairs fall apart visually. Patched areas absorb paint differently than the surrounding painted wall. If you paint directly over joint compound, you’ll get a dull, flat spot surrounded by sheen — a “picture frame” effect that’s sometimes more obvious than the original hole.
The fix: prime the patched area before painting. A single coat of drywall primer or PVA primer seals the compound and brings the absorption rate in line with the surrounding wall. Then paint normally. Without primer, you might need four or five coats of paint to hide it — with primer, two is usually enough.
Total Cost and Time
Small hole: Under $10, 15 minutes active work Medium hole: $10–$20 for materials, 30 minutes across two days (drying time) Large hole: $20–$40 for materials, 1–2 hours across three days
The skill compounds fast. The first time you do a medium hole it feels tedious. The second time it’s straightforward. By the third time you’re doing it on autopilot. That’s the whole point — owning a home means this stuff comes up, and knowing how to handle it quietly and correctly is exactly the kind of thing that keeps a house from getting ahead of you.

Written by
Chris Bysocki
Dad of two (a 6-year-old daughter and a 3-year-old son), homeowner, and guy who learns most things the hard way. Writing about parenting, tools, yard work, and gear from a neighborhood in the real world.
More in this category

Ask Chris
Got a question about this topic — or anything dad-related? Send it over. I read every one.